
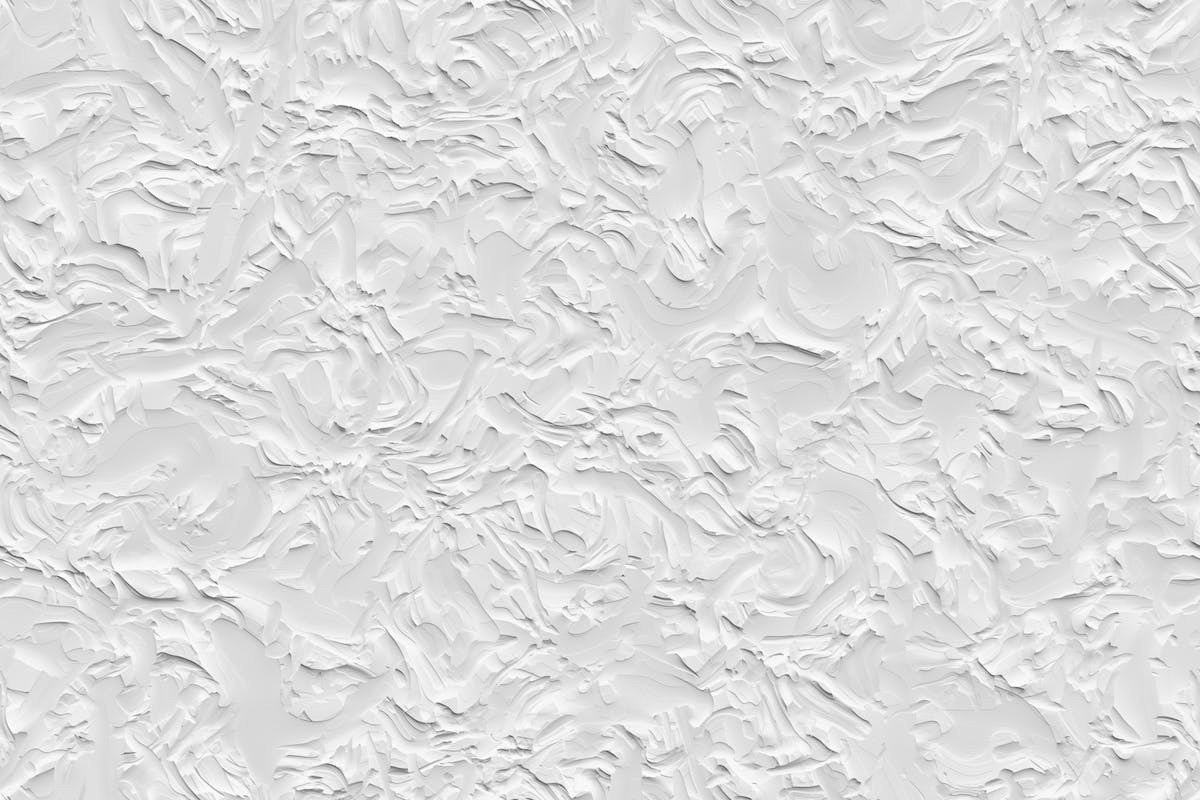
It seems that drywall, also known as gypsum board, has been mistreated by time or poor application, leaving unsightly blister marks under the paint. This blistering problem, although common, requires special attention to be resolved effectively. The main cause of this issue is often inadequate surface preparation before painting. There is no need to panic. With a little patience, the right tools, and an informed approach, the drywall can be restored to its original glory. Just follow a few key steps.
Blisters on drywall: where do they come from after painting
When you notice a case of ‘blistering drywall tape’ after painting, it’s important to understand this phenomenon well.
Related reading : How to Effectively Burn Body Fat?
First of all, inadequate surface preparation can negatively impact the final result and lead to blistering drywall tape. Indeed, if the surface still contains dust or other residues that were not removed before the intervention, these can hinder proper adhesion between the drywall and the paint.
Excessive water usage when mixing to achieve your compound is likely to be guilty. A too humid environment encourages bubble formation in the tape, thus giving rise to the unpleasant blisters on your drywall tape.
You may also like : How to Make Good Coffee?
Another crucial point to consider is the drying time. If this was not properly respected before applying your paint layer, it could very well explain why you are dealing with blistering drywall tape.
Not to mention that sometimes it’s simply a structural issue: the initial presence of a defect on the treated wall, such as a crack or a dip; tension exerted by this anomaly when the tape dries can subsequently cause our famous blistering drywall tape.
This thorough analysis of potential causes should lead us to various methods to effectively repair these tapes so that your interior surfaces regain their shine.
Possible causes of blisters on drywall tape
Now that we have identified the different possible causes, it’s time to move on to the methods for repairing blistered drywall tape. Here are some solutions to consider:
Removal and replacement: If the blisters are small and localized, you can opt for a more targeted approach by gently removing the affected part of the tape and applying a new coating. Be sure to use the right material and carefully follow the manufacturer’s instructions.
Sanding: If the blisters are not too pronounced, you can try to smooth them out using fine sandpaper or a slightly damp abrasive sponge. Gently sand the surface until the bubbles are level with the rest of the wall. Be careful not to further damage the drywall during the process.
Filling: In some cases, it’s enough to apply a filling compound over the entire affected area to even out the texture of the wall. Use a spatula to spread the compound, ensuring that all cavities caused by the bubbles are filled.
Application of a primer: To prevent any reappearance of blisters after repair, it may be wise to apply a specific primer before applying a new layer of paint or any other wall covering.
It’s important to emphasize that before undertaking any repair method, it is recommended to consult a professional in the field, especially for more complex or extensive cases. An expert can assess the situation and advise you on the best approach to take.
Repairing blistered drywall tape after painting may seem like a challenge, but with the right methods and appropriate know-how, it is entirely possible to achieve satisfactory results. Don’t hesitate to take your time and carefully follow the recommended steps. Your wall will quickly regain its smooth and flawless appearance.
To avoid this kind of problem in the future, make sure to properly prepare the surface before any intervention by thoroughly cleaning the area and strictly adhering to the necessary drying times between each applied layer.
Repairing blistered drywall tape: which methods
Now that you know how to repair blistered tape, be sure to take preventive measures to prevent them from reappearing in the future. Here are some useful tips:
Proper preparation: Before painting or applying any other coating to your drywall, make sure to properly prepare the surface. This involves a thorough and meticulous cleaning to eliminate any traces of dust, dirt, or grease that could harm the adhesion of the material.
Use the right type of paint: be sure to use paint suitable for drywall. Opt for a formula specifically designed for this material that offers better water and moisture resistance.
Avoid extreme temperatures: Rapid temperature fluctuations can cause bubble formation on drywall tape after painting. Therefore, make sure to maintain a stable ambient temperature in the room during and after the drying process.
Avoiding blisters on drywall: our tips
Now that we have discussed the steps for effectively repairing blistered tape, be sure to examine the common mistakes to avoid. Here are some valuable tips to prevent potential complications:
Avoid excessive product application: An excess of putty or glue can lead to joint overload and potentially cause blisters after painting. Therefore, make sure to use the appropriate amount by carefully following the manufacturer’s instructions.
Don’t neglect sanding: Before applying the finishing product, be sure to sand to avoid future problems.
Do not use unsuitable material: It is crucial to use the right type of tape for your drywall, whether it is adhesive or self-adhesive tape specifically designed for this material. Using an unsuitable material can compromise the durability of the joint and increase the risk of blisters.
Pay attention to adequate drying time: It’s tempting to want to speed up the process, but this can have disastrous consequences on the quality of the work done. Strictly adhere to the indications regarding the time required for complete drying before moving on to the next step.
Avoid jerky movements during application: When applying the product to the tape, be sure to choose carefully. Opt for smooth and steady movements to achieve a uniform and flawless result.
By avoiding these common mistakes, you will significantly increase your chances of successfully repairing blistered drywall tape after painting. Don’t hesitate to take your time and carefully follow all the recommended steps to achieve a flawless final result.
Repairing drywall tape: mistakes to avoid
The repair of blistered drywall after painting requires a meticulous and methodical approach. It is essential to properly prepare the surface by removing damaged parts, applying suitable putty, and ensuring that the joints are smoothed precisely.
To maintain the integrity of the drywall tape and achieve a flawless finish, it is recommended to use quality materials appropriate for the type of drywall. An adhesive or self-adhesive tape specifically designed for this material will ensure better durability of the joint.
It is crucial to avoid any excess product during application to prevent any overload that could lead to blisters after painting. Strictly following the manufacturer’s instructions regarding the necessary dosage will ensure an optimal result.
Sanding before applying the finishing product is also essential to eliminate irregularities and ensure perfect adhesion. Not neglecting this preparatory step will help avoid any future problems.
It is important to respect the necessary time for the complete drying of the putty or glue used before moving on to the next step. Insufficient drying can compromise the strength of the joint and negatively affect the final result.